DIY repairs can be a game-changer for homeowners, offering a sense of empowerment and the ability to resolve common issues without hefty bills from professionals. In this guide, we’ll explore easy DIY fixes for common household problems, providing step-by-step solutions that anyone can follow. Let’s dive into the world of quick and simple repairs.
Tools and Materials
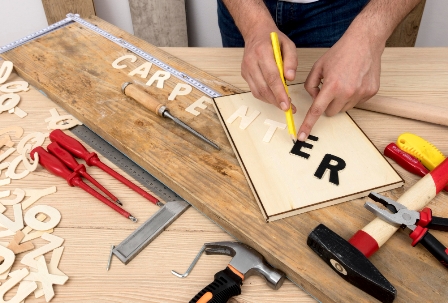
Before we embark on our journey of DIY repairs, let’s make sure we have the right tools and materials on hand. A basic toolkit with a screwdriver, pliers, and a wrench is essential. Additionally, keep common materials like adhesives, lubricants, and replacement parts readily available.
Leaky Faucet: A Step-by-Step Guide
Identifying the Issue
Leaky faucets are often caused by worn-out washers or O-rings. Turn off the water supply before attempting any repairs.
Shutting off the Water Supply
Locate the shutoff valve under the sink and turn it clockwise to cut off the water supply to the faucet.
Disassembling the Faucet
Carefully disassemble the faucet using a wrench and screwdriver, keeping track of the order of components.
Replacing Faulty Parts
Replace the worn-out washers or O-rings with new ones, ensuring a proper fit.
Reassembling and Testing
Put the faucet back together, turn on the water supply, and check for leaks. Congratulations, you’ve fixed a leaky faucet!
Clogged Drain: DIY Solutions
Recognizing a Clogged Drain
Slow drainage or water backing up in the sink are signs of a clogged drain. Identify the location of the blockage.
Using a Plunger Effectively
Place the plunger over the drain, creating a seal, and plunge vigorously to dislodge the clog.
Homemade Drain Cleaners
Mix baking soda and vinegar, pour it down the drain, and follow with hot water. Alternatively, use a commercial drain cleaner.
Preventive Measures
Regularly pour hot water down drains to prevent future clogs. Install drain strainers to catch debris before it causes issues.
Broken Tiles: Repairing with Ease
Gathering Necessary Tools and Materials
You’ll need replacement tiles, adhesive, a putty knife, and grout. Ensure the new tiles match the existing ones.
Removing and Replacing Broken
Tiles Use a putty knife to remove the damaged tile, apply adhesive, and carefully place the new tile. Allow it to set.
Grouting and Finishing Touches
Apply grout between tiles, wipe off excess, and let it dry. Your tiled surface looks as good as new!
Squeaky Doors: Silencing the Noise
Diagnosing the Cause of Squeaks
Identify the source of the squeak by moving the door back and forth. Common culprits include loose hinges or rubbing surfaces.
Applying Lubricants
Use a silicone-based lubricant on hinges and moving parts to eliminate squeaks.
Tightening Loose Hinges
Tighten screws on loose hinges using a screwdriver. Ensure a snug fit to prevent future squeaks.
Replacing Hinges if Necessary
If hinges are damaged beyond repair, replace them with new ones for a quiet door.
Continue the article in a similar fashion, covering topics like peeling wallpaper, drafty windows, wobbly furniture, faulty light switches, stained grout, jammed garbage disposal, loose cabinet handles, and flickering light bulbs.
FAQs
It’s crucial to turn off the water supply to prevent accidents and ensure a successful repair.
Regularly pouring hot water down drains and using drain strainers can help prevent clogs.
While an exact match is ideal, close color and pattern matches can work well for minor repairs.
It’s recommended to use a silicone-based lubricant for door hinges to ensure long-lasting results.
If you’re unsure about the issue or if DIY attempts fail, it’s wise to consult a professional for assistance.
Conclusion
Mastering easy DIY repairs is not only cost-effective but also empowering. By tackling common household issues with confidence, homeowners can maintain a functional and comfortable living space. Remember, with the right tools and a bit of know-how, you can be your own handyman.


Find Us on Socials